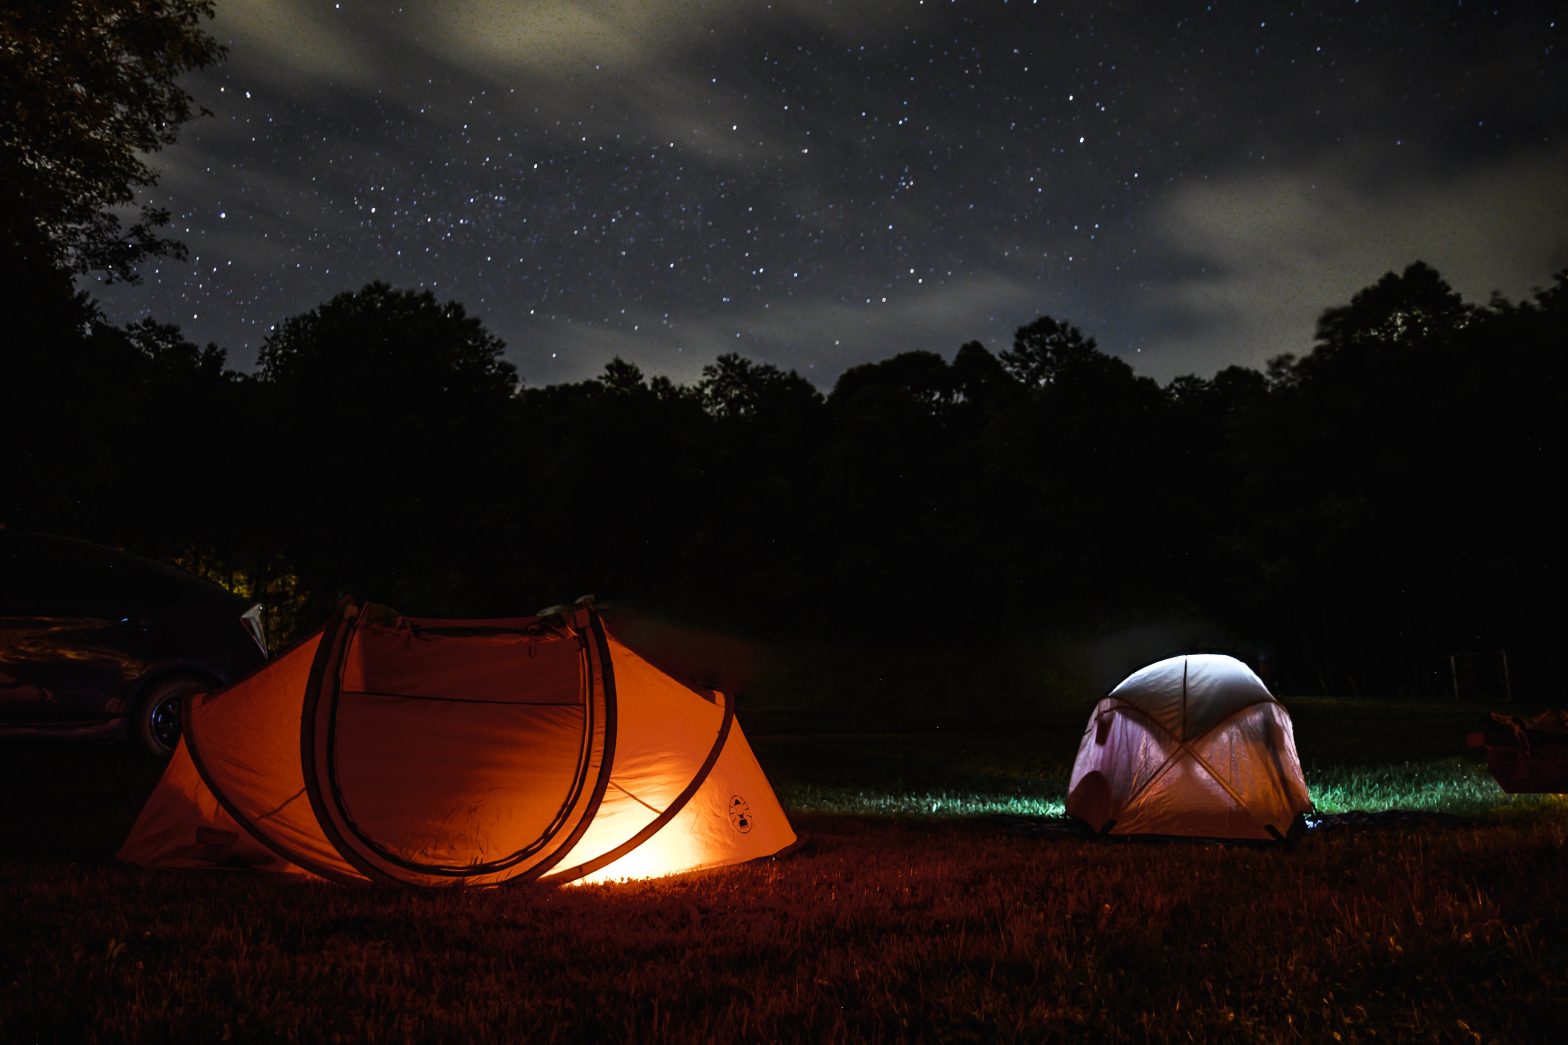
Camping that involves using one or more tents as the primary sleeping or resting accommodations is known as tent camping and is the most popular kind of camping. Those that engage in this hobby are sometimes referred to as tent campers. For more details about tent camping, continue reading our comprehensive guide.
The action of pitching a tent is referred to as. It might take minutes or hours to set up a tent, and it can be very simple or very challenging. It takes 20 to 30 minutes to set up and take down the majority of contemporary tents. Larger tents can require considerably more time. Don’t just pick up a new tent and head out if you’re not experienced with tent camping, or you’ve been doing outdoor vacations for a while. Give your tent a trial run at home so you can erect it quickly. By doing this, you may pitch it in inclement weather or after sunset without encountering any issues.
Ensure that your tent is equipped with everything you require. Examine the configuration of your tent and think of any additional equipment that would be useful, such as a small mat for shoes, a lamp that can hang from the ceiling loop, or a flashlight that can be tucked into the side pockets. Anything about camping depends on careful planning, just like everything else. If you go camping, you must be familiar with how to put up your camping tents.
You must also be sure that you have all the necessary materials (rope, sticks, and stacks) and that you are fully aware of all the construction methods. If you don’t plan, setting up the tents will be a time-consuming disaster, and you could all wind up having a terrible time and returning home before the camping vacation ever begins. Therefore, ensure you have the tools and understand how to utilize them. And there is no question that a night vision body cam will be incredibly beneficial for a day when you need to shoot some compelling nighttime video of camping or traveling.
Create the Base
Get your tent’s poles, rainfly, footprint, and tarp or awning ready. If your tent kit doesn’t come with a print or tarp, think about purchasing one. It helps shield your tent’s floor and keep it dry during storms. Select a location for your tent that is as open, level, and flat as feasible. There may be a specific tent pad at your campsite in a campground. Remove any sticks, pine cones, stones, or other objects from the area of the ground where your tent will be placed. Choose how you want your tent to be oriented.
For a restful sleep and to avoid waking up to the scorching sun blazing down on your tent, take advantage of natural windbreaks and shade. To avoid having the wind blow directly into the door, consider wind direction. Place the tarp or footprint down. Although it could be longer or broader than your tent, extra material can be folded under after it is put up.
Set Up Your Tent and Stake It
Stretch the tent foundation across the footprint or tarp using two persons. To firm up the floor of your tent, pull the canvas tightly and stake two corners in the opposite direction. Stake it firmly with the hook facing out and straight into the earth. Use a rubber mallet, the bottom of your boot, the flat side of a log, or the dull edge of a camping hatch if the stakes are challenging to drive into the ground. Stake the remaining corners as well after pulling them out.
Include the Poles
Pole pieces may be easily clicked together and are commonly joined by a bungee rope. The sleeves on the tent’s exterior should hold the most extended (or primary) poles. Though tent designs differ, they often intersect at the apex. Slide them slowly to prevent snagging. Continue with any extra poles.
Erect The Tent
By gradually raising one of the main tent poles, start rising the tent. On the outside of your tent, close to the ground, a pocket or clasp should accommodate either end of the pole. To get the tent fully popped up and accessible, repeat the process with the cross pole and the extra support poles. Examine the poles that attach them to the outside of your tent for any extra fasteners or clips.
Include The Rainfly
- Cover the top of your tent with the rainfly.
- Similar to an umbrella, it helps keep you dry even during prolonged downpours or storms by directing precipitation away from the tent’s roof.
- If your fly also calls for a pole, put it in first.
- To secure the fly, look for fasteners outside the tent. They could be at the main support poles or their base.
Include The Last Supports and Stands
- Any remaining tent edges should be staked to keep the tent or rainfly taut. Secure any ropes that might need to be staked.
- To prevent slips and falls, consider campsite traffic when deciding exactly where to stake your fly.
Conclusion
Camping that involves using one or more tents as the primary sleeping or resting accommodations is known as tent camping and is the most popular kind of camping. It might take minutes or hours to set up a tent, yet it can also be very simple or very challenging. Larger tents can require considerably more time, so this information will guide you that how you can build your camping tent.
This article was last updated on August 25, 2022 .
The Outdoors Blog is reader-supported. When you buy through links on our site we may earn an affiliate commission. Learn More.